Burlap coffee sack throw pillows
I was inspired by an online post where a blogger created throw pillows from these authentic bags used to transport the raw coffee beans, including batch and origin markings, and some actually had a few beans left inside. The coffee sacks were first ironed, then cut 2" larger than the size of the pillow insert. Sew a simple seam around three sides, then install the zipper. I then ironed the seams flat.
Burlap coffee bag Christmas tree skirt
I think these burlap coffee sacks make such a great conversation piece, and once I got my creative juices flowing, the projects and uses seem endless. My next project was to create a Christmas tree skirt with the burlap coffee bags. I estimated the size of the finished product in terms of diameter (45"), then cut a piece of Christmas wrapping paper to this size (45"diameter). I cut a hole for the tree in the middle. I then used this as a template or pattern to cut the burlap. There are two options, you can either use one single coffee sack and cut it into a 45" large circle with a hole in the middle OR you can cut panels from several different coffee sack and sew them together. I chose the second method because I wanted to showcase as many of the interesting logos and markings as possible. Sew together the panels and press the seams, then fold over and sew the raw edges around the outside of the piece.
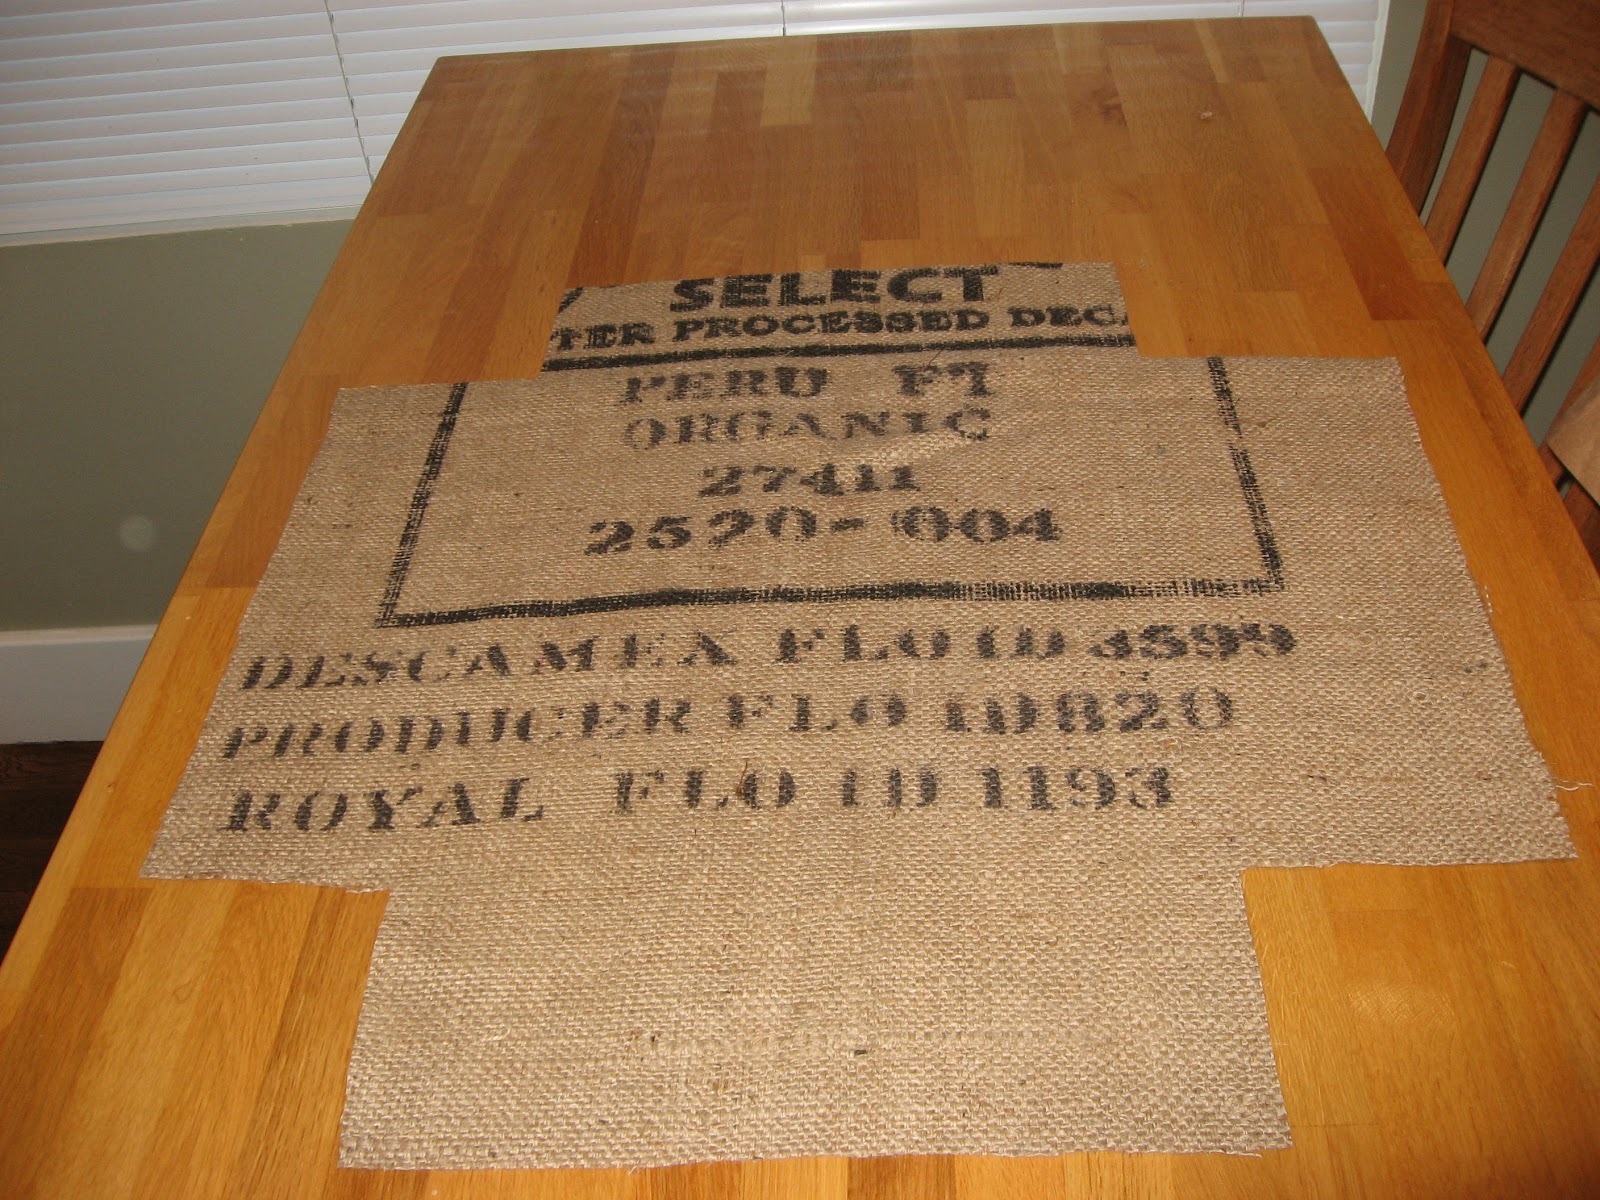
Burlap coffee sack place mats
Using the unprinted sides and ends of the burlap coffee sacks, I cut out rectangle pieces 20" x 14" making sure to cut square to the grain/weave NOT on the diagonal. I then used some neutral fabric as a backing liner (raw edges folded under, liner finished size: 18" x 12"), affixing it to the back of the burlap by sewing machine. Once the backing was affixed, I then carefully frayed the edges by pulling out the woven material on the outside edges. This leaves a 1" fray on all four edges.
Available for purchase
Burlap coffee sack throw pillows
Most are size: 18"x18"
A few pillows are: 15" x 22"
All have feather or down pillow inserts, most have zipper closures
$30 each
Burlap coffee sack christmas tree skirt
45" circumference
Open flap closure
5 panels of coffee sacks sewn together
$60 each
Burlap coffee sack place mats
Finished size: 20" x 14"
Lined with neutral fabric
$8 each
Contact the artisan directly to arrange local viewing and purchase:
Heather Fulcher
heatherfulcher@gmail.com
Vancouver, BC, Canada
604-618-4829