Monday, 19 August 2013
Head board made from a vintage door
Homemade bed skirt - net $0 project
Our new king sized bed was in desperate need of a bedskirt, and as always, I like to challenge myself to find creative solutions while being as resourceful and thrifty as possible.
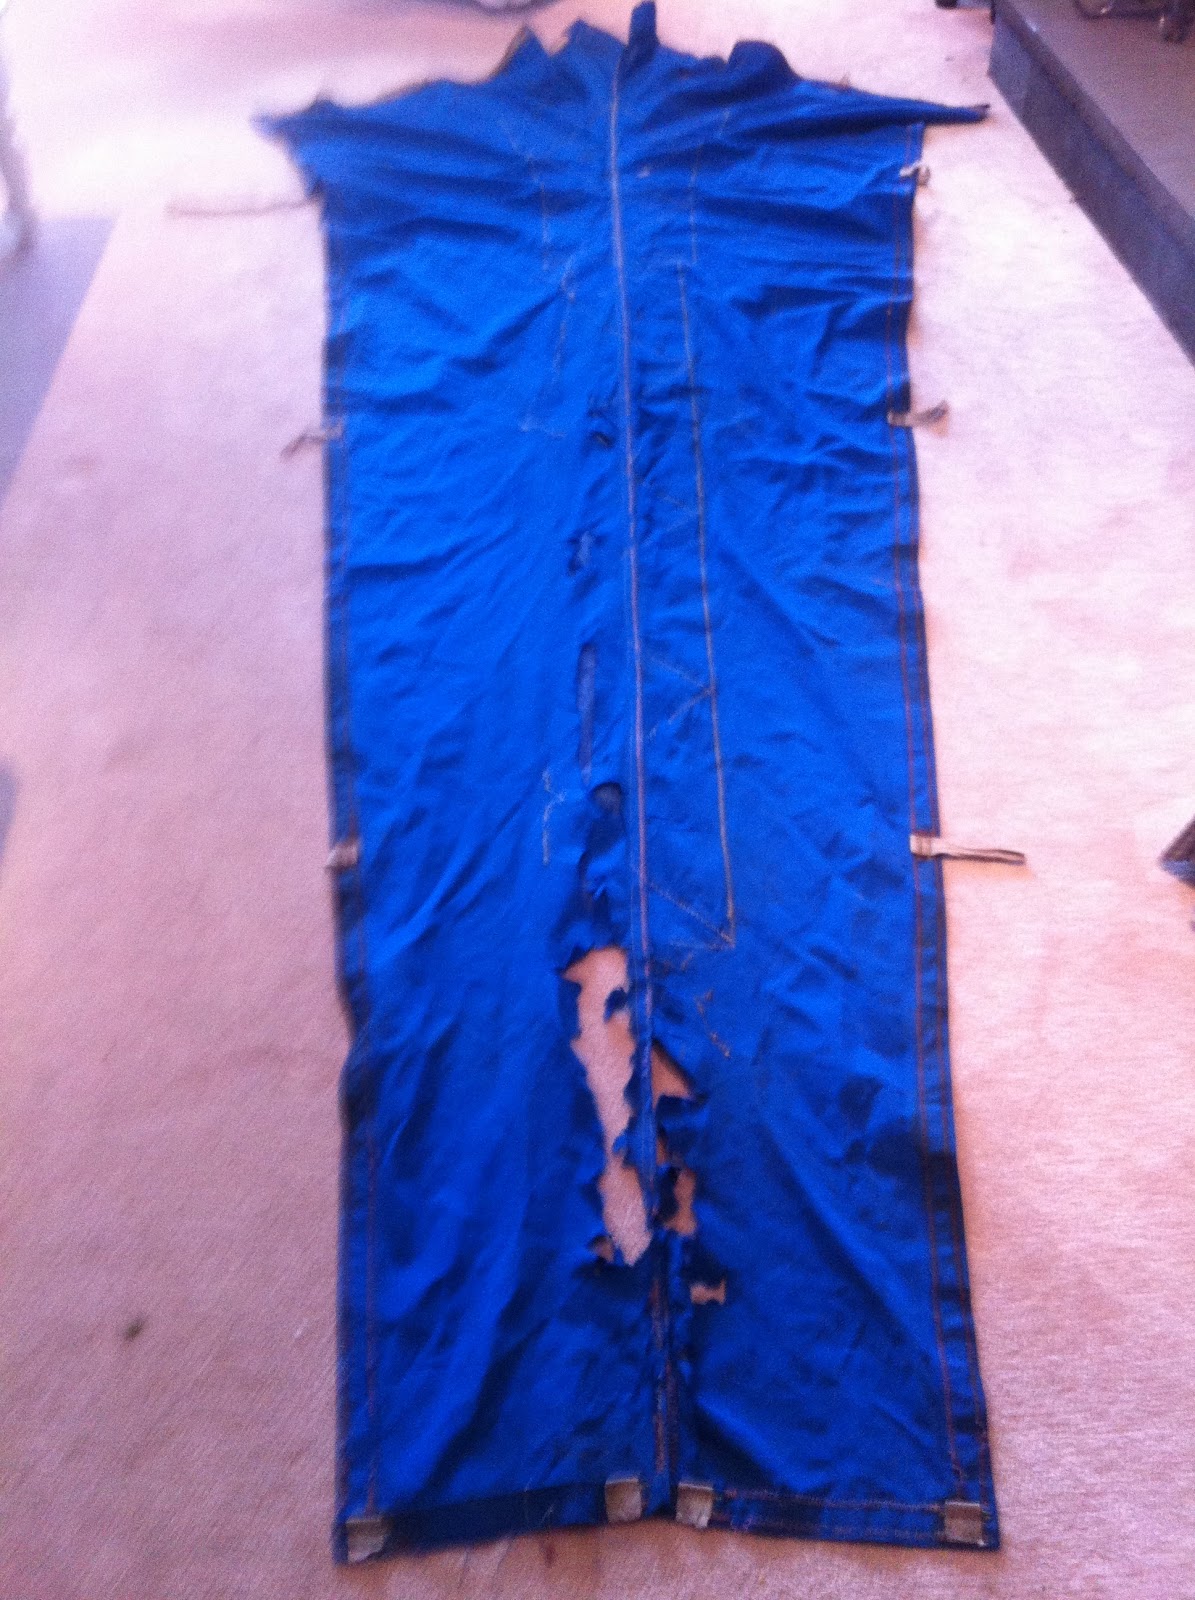
Since we had just upgraded from a queen sized bed, I decided to use the fabric from the old threadbare queen sized sheets as the material for the bedskirt. First I flattened the queen sized fitted sheet by removing the elastic from the corners and taking the corner seams apart. This was the base for the new king sized bedskirt. I needed to fill in the squares on the corners with some scrap fabric, but since this part lies underneath the mattress, the patches would not be seen. Next I measured the height of the bed frame and box spring together, this is the height of the finished skirting. I cut strips from the queen sized flat sheet, sewed them end to end to create enough length to wrap around the bed, then starched and pressed the material. These strips were then sewn onto the base around the sides and front, but not the back. Another pressing, and the project was complete. Total cost: $0.
| Before |
| Base for bedskirt |
| corner patches for bedskirt base |
| corner patches for bedskirt base |
| Bedskirt - strips for skirting |
| New bedskirt done! |
Saturday, 1 June 2013
Sailboat interior design project
My partner Rich and I are new sailboat owners. Her (current) name is "Miracle", she is a Davidson 18 and she was built in the 1970s (same as me!).
The first re-decorating task was to remove the carpet (yes, CARPET) that was affixed to the inside walls of the cabin. Next task was to paint the inside walls a nice crisp white colour.
After painting, the next task was to recover the v-berth cabin mattress. I re-used the existing foam and recovered with new fabric.
The sail cover was probably original to the boat from the 1970s, and was badly weathered from years of use. Several patches were made over the years, and although it's probably time to completely replace it, I decided on another round of patches instead. I found the same colour marine fabric (at a gazillion dollars/meter), but only needed 1/2 meter.
Next task was to create some bench cushions for the cockpit. I found some cheap foam on Craigslist and cut it to the contour of the cockpit benches. Then I found some remnant outdoor fabric online in the selected pattern.
Breakdown of the cost for the boat redecorating project:
- marine paint - $50
- v-berth cushion fabric - $60
- sail cover fabric patch - $60
- cockpit cushions - $100
- throw pillows - $20
Brought to you by:
Heather Fulcher
Professional Organizer for Hire
Vancouver, BC, Canada
heatherfulcher@gmail.com
604-618-4829
The first re-decorating task was to remove the carpet (yes, CARPET) that was affixed to the inside walls of the cabin. Next task was to paint the inside walls a nice crisp white colour.
After painting, the next task was to recover the v-berth cabin mattress. I re-used the existing foam and recovered with new fabric.
| V-berth cushions - OLD |
| V-berth cushions - NEW |
The sail cover was probably original to the boat from the 1970s, and was badly weathered from years of use. Several patches were made over the years, and although it's probably time to completely replace it, I decided on another round of patches instead. I found the same colour marine fabric (at a gazillion dollars/meter), but only needed 1/2 meter.
Next task was to create some bench cushions for the cockpit. I found some cheap foam on Craigslist and cut it to the contour of the cockpit benches. Then I found some remnant outdoor fabric online in the selected pattern.
- marine paint - $50
- v-berth cushion fabric - $60
- sail cover fabric patch - $60
- cockpit cushions - $100
- throw pillows - $20
Heather Fulcher
Professional Organizer for Hire
Vancouver, BC, Canada
heatherfulcher@gmail.com
604-618-4829
Wednesday, 2 January 2013
Dining chairs upholstered with burlap coffee sacks
These eight (8) solid oak dining chairs were custom made fourty years ago by a local artisan and family friend. They have been in my family ever since, and I've just given them a new lease on life with a fresh coat of pain and new upholstery. The initial thought was to restore them exposing the original wood and integrate them back into the new decor of the family home, but the decision was made to use new chairs instead and get these vintage beauties ready for a new home.
| The original fabric upholstery was removed along with all of the fastening staples. |
| Each chair was painted with approximately three coats of creamy "Cottage White" paint. |
| New foam cushions were cut for each chair. |
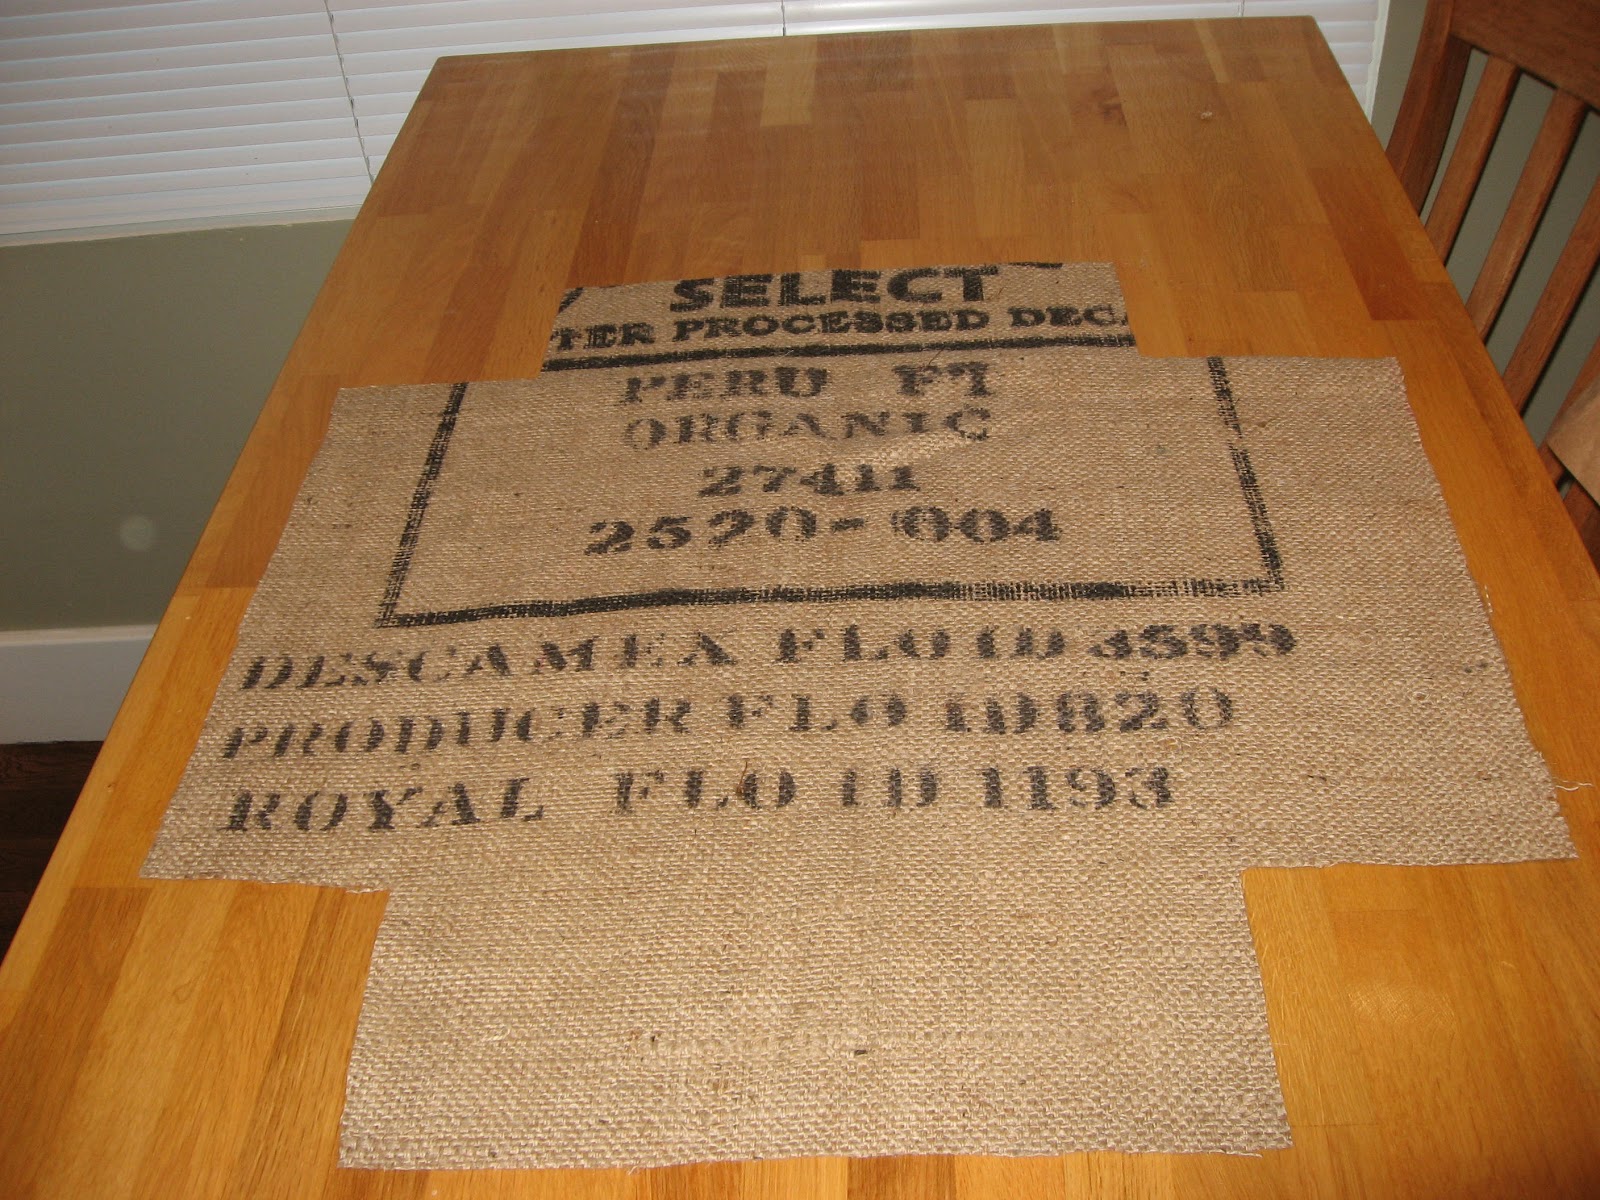
| Burlap coffee sacks were used for the seat upholstery fabric. First they are steam ironed which softens the fabric and removed the wrinkles. |
| I then cut the burlap coffee sacks to the correct size using a template made from kraft paper. |
| Once the burlap is cut to size, I then cut a lining fabric to the exact size/shape. |
| The lining fabric is then sewn to the burlap creating nice neat edging all the way around. |
| The seat upholstery fabric is then fitted overtop the foam cushion and tacked into place on the underside of the chair. |
As illustrated in the above photos, each seat cushion is unique, and as a set, they are not only function and attractive, they will make for a great conversation piece in your home. These solid oak chairs are build to last the ages, and now they are completely refurbished with a new lease on life.
Subscribe to:
Posts (Atom)